Our Dental Blogs - Mesa, AZ
Tips, Facts, And The
Latest In Dentistry

Your Step-By-Step Guide To The Dental Implant Process
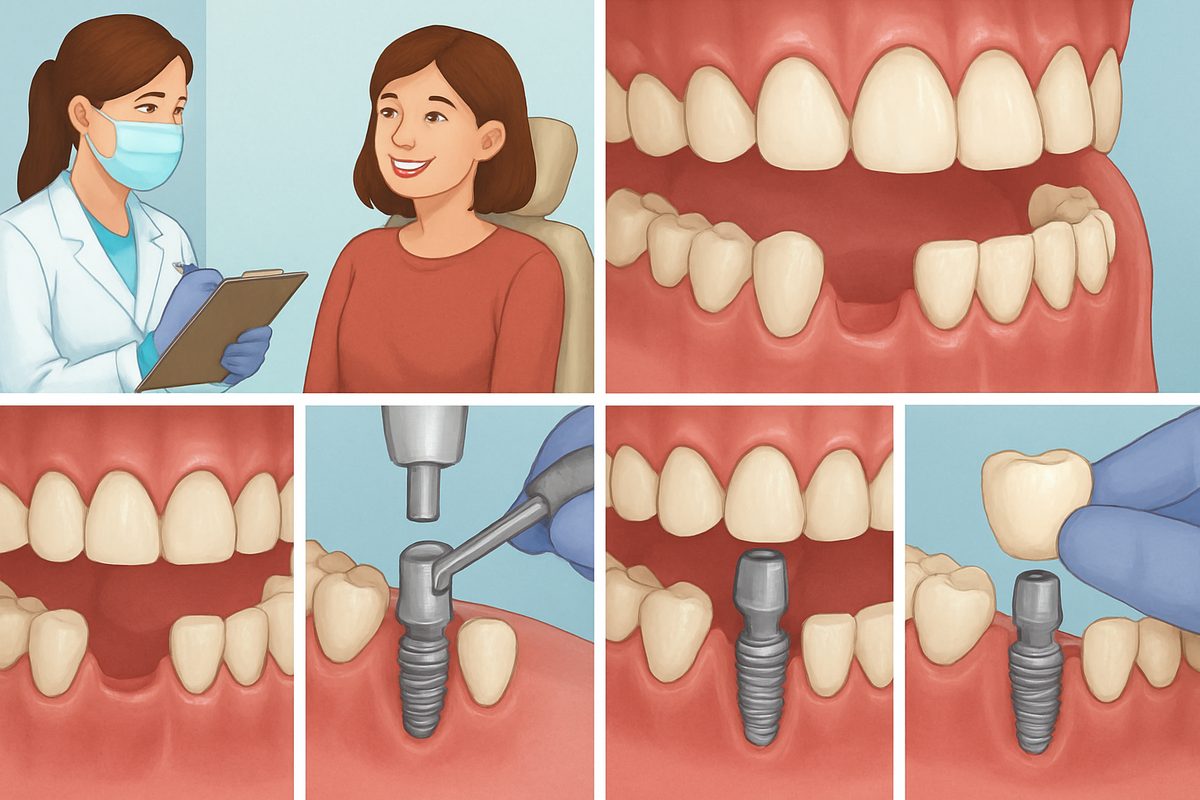
This guide explains the dental implant process in Mesa, AZ in plain language. You’ll get clear steps from the first visit through the final restoration, typical timelines, and what results to expect. Read this if you’re thinking about replacing missing teeth with implants and want practical next steps and questions to bring to your consultation.
Quick Overview: What Is the Dental Implant Process?
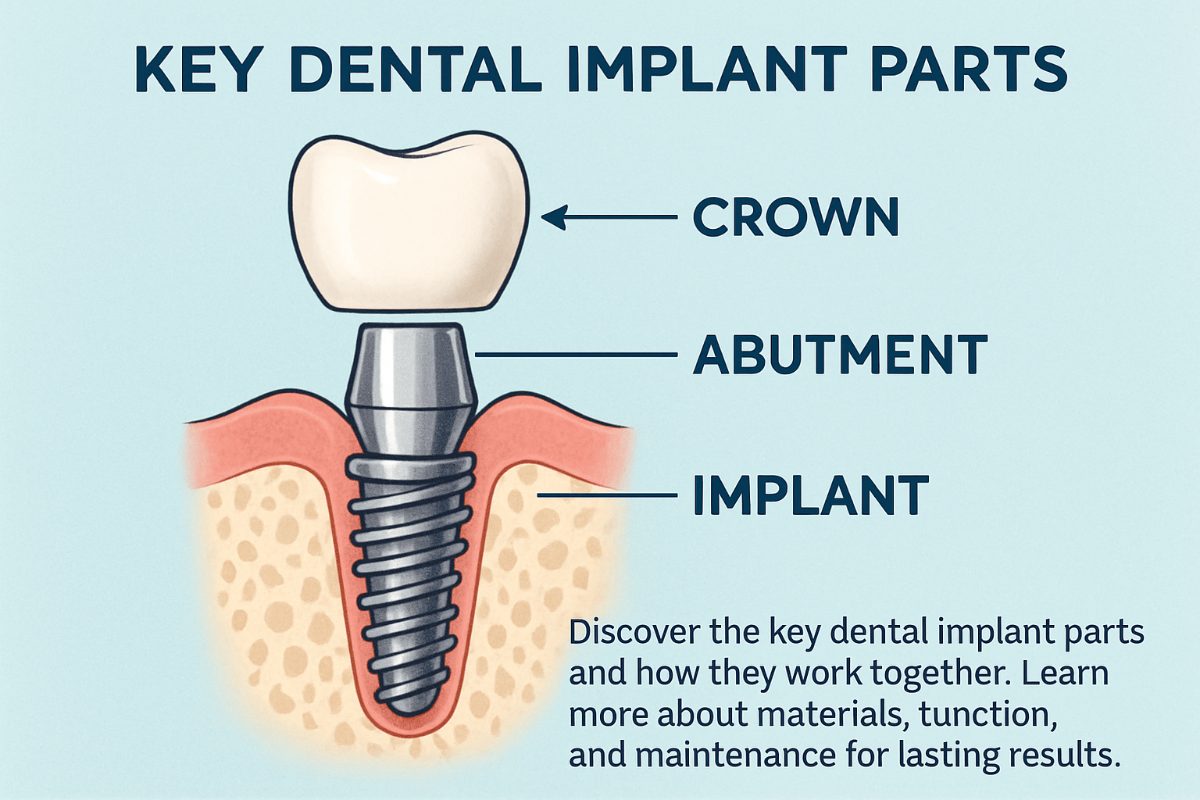
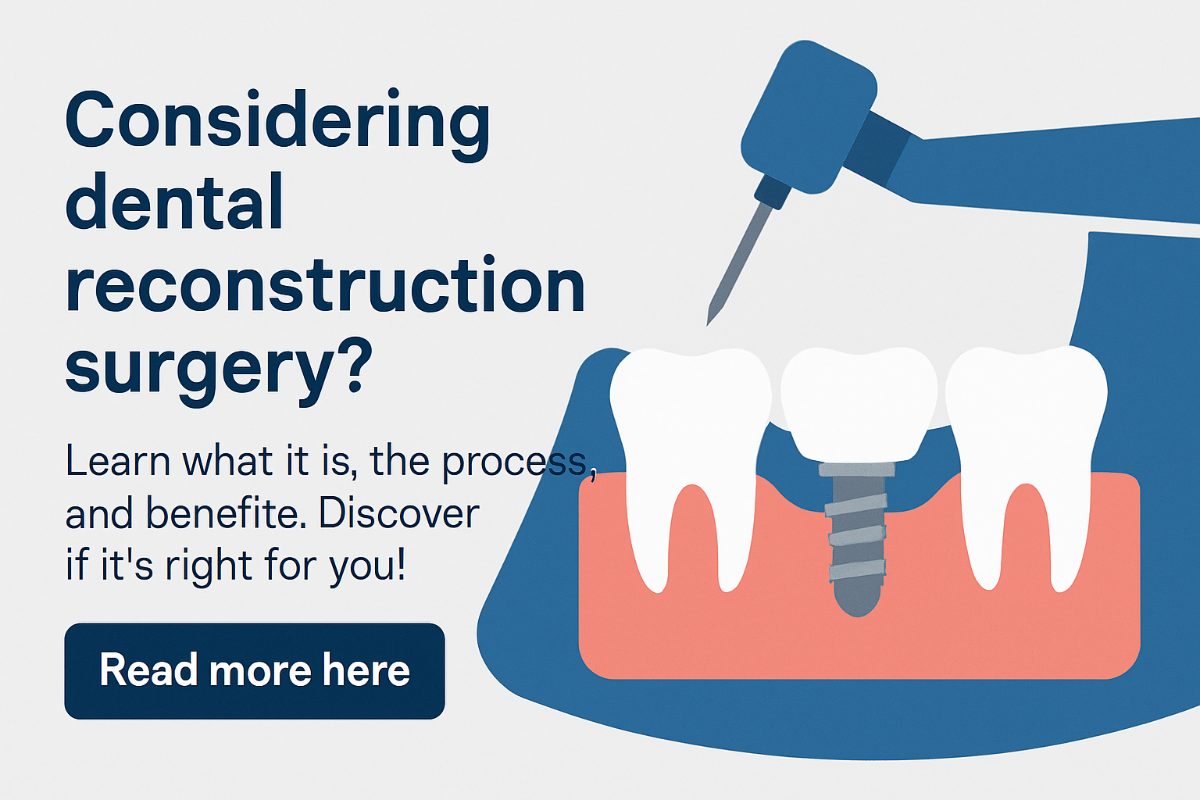
The dental implant process in Mesa, AZ is a series of planned steps that replace missing teeth with a titanium root plus a custom prosthetic tooth or denture. In simple terms, an implant acts like a new tooth root, the bone heals around it (osseointegration), and a crown, bridge, or denture is attached. The main goals are to restore chewing, comfort, and the look of your smile.
Step 1 — Consultation and Medical/Dental Assessment
Your first visit is a fact-finding appointment. The team reviews your medical history, current medicines, and any health issues like diabetes or smoking that can affect healing. Expect an oral exam, photos, and a clear talk about your goals. Honest health information helps the team choose the safest plan and set realistic outcomes. Bring a list of questions and your medical records if possible.
Step 2 — 3D Imaging and Digital Treatment Planning
We use BCT (cone beam CT) scans and intraoral digital scans to see your jaw bone and gums in 3D. Digital implant planning software maps exact implant positions before surgery. Many clinics will also show a smile simulation (PreVu®) so you can see the expected result. These tools make the dental implant process in Mesa, AZ safer and more predictable by planning the surgery precisely in advance.
Step 3 — Preparatory Procedures (If Needed)
Some patients need prep work before implants. Common steps:
- Tooth extractions for teeth that can’t be saved
- Bone grafts or sinus lifts to add support where bone is low
- Treatment for active gum disease before placing implants
These steps create a strong foundation. They add time—sometimes months—but they help implants last longer.
Step 4 — Guided Implant Surgery and Sedation Options
Guided surgery uses the digital plan and a printed surgical guide to place implants exactly where planned. This improves accuracy and lowers risks. Sedation options range from nitrous oxide to oral or IV sedation so you stay comfortable. On surgery day expect local numbing, a calm environment, and clear after-care instructions.
Step 5 — Healing and Osseointegration
After placement the implant needs time to bond with bone. This healing, called osseointegration, usually takes weeks to months. Some patients qualify for immediate-load implants or temporary teeth the same day; others need a healing period before the final prosthetic. In-house 3D printing and lab work can speed provisional restorations so you spend less time without teeth.
Step 6 — Prosthetic Phase: Abutment and Final Restoration
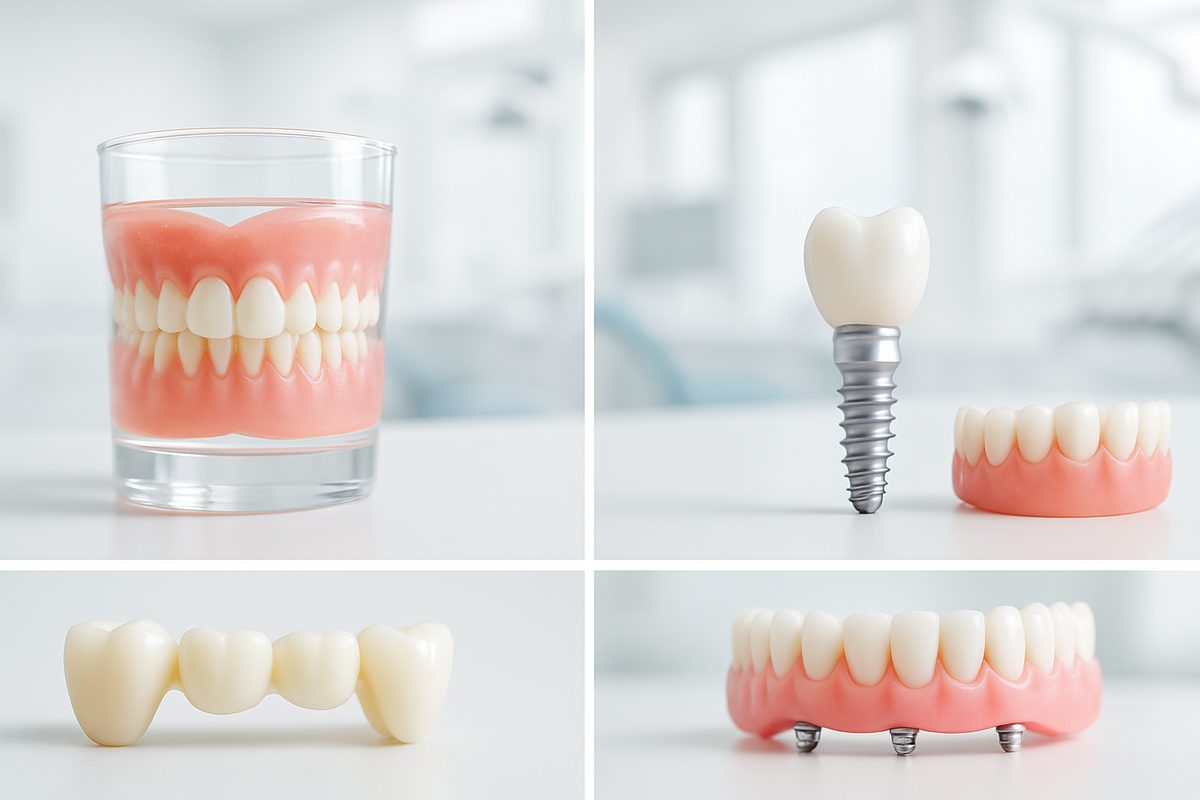
Once implants are stable, abutments are attached and the lab makes your final crown, bridge, or implant-supported denture. Dentists use intraoral scanning, CAD/CAM design, and in-house fabrication to create custom, precise restorations. This approach often reduces visits and lets the team adjust fit and look quickly.
What to Expect: Recovery, Risks, and Long-Term Care
Common recovery issues include swelling, mild pain, and some bleeding for a few days. Watch for persistent pain, fever, or swelling that gets worse—these can be signs of infection. Long-term care includes daily cleaning, routine dental exams, and avoiding heavy smoking. Implants have high success rates when maintained; complications are treated with prompt clinical care.
Timeline and Cost Factors for the dental implant process
Typical timelines vary:
- Simple single implant: 3–6 months from start to finish
- Multiple implants or full-mouth work: 4–12 months depending on grafts and healing
Main cost drivers are number of implants, need for bone grafting or extractions, type of implant and prosthesis, and whether work is done with an on-site lab. Integrated digital workflows and in-house labs often reduce time and can lower overall cost by cutting outside lab fees and extra visits.
Who Makes a Good Candidate?
Good candidates are generally healthy, have enough jaw bone (or are willing to have grafts), and have realistic expectations about timeline and care. Barriers include uncontrolled diabetes, heavy smoking, radiation to the jaw, or untreated gum disease. Clinicians will evaluate each case and offer alternatives like removable dentures when implants are not suitable.
Why Choose a Dedicated, Tech-Forward Implant Center?
Choosing a center that focuses on implants and uses modern tech helps predictably guide the dental implant process in Mesa, AZ. On-site BCT scanning, an in-house denture/implant lab, 3D printing (Einstein 3D printer), guided-surgery workflows, and digital smile simulation (PreVu®) mean fewer visits, faster provisional work, and tighter quality control.
At Restore Denture and Implant Center, Dr. Alyssa Mencini, DMD leads care with extensive implant training and experience. Her role in doctor training and years of full-mouth implant work make the practice well-suited for complex cases. The team’s integrated digital workflow helps keep more steps in-house for predictable results and efficient care.
Next Steps: How to Start the Dental Implant Process
Ready to begin? Schedule a consultation and bring your medical history and any X-rays. Ask for a digital smile simulation, discuss sedation and financing options, and write down questions about timelines and expected outcomes. A clear first visit sets the right plan and helps you move forward confidently with the dental implant process in Mesa, AZ.

